The common assumption is that photographers and other creatives can’t travel carry-on only because their gear is too bulky and too valuable to trust to a single bag. The gear is bulky, and the value is real, but the assumption that this rules out a carry-on is wrong. What rules out carry-on travel is packing for every possible shoot instead of the one trip in front of you. Most creative trips need three to five core pieces of equipment, not ten, and a carefully chosen kit fits in a 40–45 L bag with room for clothing.
The harder constraint is weight, not volume. Camera bodies, lenses, and laptops are the densest items in any traveler’s bag, and many airlines enforce 7–10 kg (15–22 lb) carry-on limits at the gate. A packed camera kit can hit 8–11 kg on its own before a single shirt goes in. The steps below address weight first, then volume, then the packing order that protects fragile equipment in transit.
Step 1: Define the Trip Before You Touch a Bag
Gear selection starts with the assignment, not the equipment shelf. A week-long street photography trip, a two-day product shoot, and a client conference with a video deliverable need different kits, and packing all three scenarios into one bag is where creativity-driven overpacking begins.
Answer four questions before choosing anything:
- What is the primary output? Stills, video, audio, writing, or a mix. A single primary output cuts the kit by roughly half.
- What is the light like? Daylight-only travel removes the need for fast primes and off-camera lighting. Indoor and evening work justifies a fast lens or a compact flash.
- Will you have power and card access each day? Access to a laptop each night changes how much in-camera backup you need to carry.
- What is the carrier’s weight limit? Look this up before packing. On a 7 kg carrier, even a modest mirrorless kit needs a plan; on a 10 kg carrier, you have room to breathe.
Write the answers down. The list that follows should be built to those answers and nothing else.
Step 2: Choose the Bag by Interior Dimensions and Weight, Not by Camera-Bag Marketing
Camera backpacks are designed to carry gear, but most are heavier and more rigid than a general travel pack of the same volume, and many have an outer profile that reads as oversized at the gate. A better starting point is a soft-sided travel backpack of 40–45 L with a clamshell or panel opening, a padded laptop sleeve, and a structure that compresses when not full.
Compare the two approaches before buying:
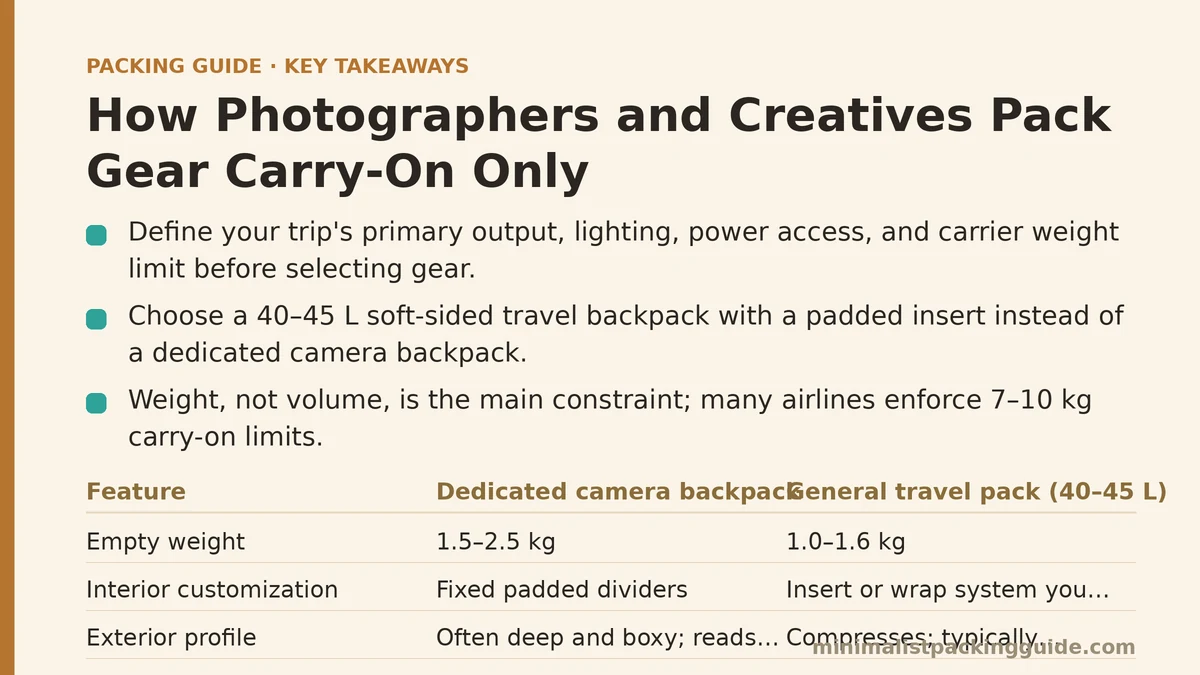
| Feature | Dedicated camera backpack | General travel pack (40–45 L) |
|---|---|---|
| Empty weight | 1.5–2.5 kg | 1.0–1.6 kg |
| Interior customization | Fixed padded dividers | Insert or wrap system you control |
| Exterior profile | Often deep and boxy; reads oversized at the gate | Compresses; typically passes sizers more reliably |
| Laptop protection | Varies; sometimes a separate sleeve needed | Usually a padded sleeve built in |
| Clothing capacity | Limited once dividers are installed | Full main compartment available |
| Cost | $150–$350 | $120–$250 |
A padded camera insert (roughly 0.2–0.4 kg) paired with a general pack usually gives a lighter, more compressible setup than a purpose-built camera bag of similar volume. Whichever route you take, measure the bag’s outer dimensions including wheels, handles, and straps, and compare that number to the airline’s stated limit rather than the bag’s marketing label.
Step 3: Build the Kit Around One Body and Two Lenses
The single biggest space decision is lens count. Each additional lens adds 300–900 g and occupies a padded compartment that could otherwise hold clothing. A workable carry-on kit for most creative trips:
- One camera body. A second body is a duplicate of the heaviest item in the bag and rarely earns its space on short trips.
- One general zoom or standard prime. Typically 24–70 mm equivalent or a 35 mm or 50 mm prime.
- One specialized lens, only if the trip requires it. A telephoto for wildlife or sport, a macro for product work, a wide for architecture. If the trip does not require it, leave it.
- One compact flash or LED panel, only if the lighting conditions demand it.
- One travel tripod (0.9–1.5 kg) if long exposures or video are part of the plan; otherwise rely on stabilization.
Lens pouches or neoprene wraps add 50–100 g each and let you pack lenses individually rather than in a rigid insert, which frees space. Choose the packing approach after the kit is final, not before.
Step 4: Move Dense Items Out of the Main Bag
Weight is where creative travelers get stopped. Batteries, chargers, adapter bricks, and laptops are dense and often pushed into the carry-on by default. Move them to the personal item or your person, subject to the rules below.
- Spare lithium batteries and power banks must travel in the cabin, never in checked baggage, and many airlines limit them to carry-on. They belong in your personal item so a gate check does not separate you from them.
- Laptops and tablets can often go in the personal item if it has a padded sleeve, freeing 1–1.5 kg from the carry-on and protecting a high-value item from gate-check risk.
- Chargers and cables weigh little on their own but add up. Consolidate to one USB-C charger that covers laptop, camera, and phone, plus a short cable set.
- Memory cards and card readers take almost no space and belong in a small pouch with the laptop.
Moving dense items to a personal item commonly drops a carry-on from 9 kg to 7 kg without removing anything from the trip. Do this before you weigh the bag, so the number you check reflects the final arrangement.
Step 5: Pack Clothing Around the Gear, Not the Other Way Around
Once the gear is set, pack clothing into whatever space remains, using the gear as the structural core. The packing order matters more with camera equipment than with most other luggage because lenses and bodies need cushioning and stable placement.
- Place the padded insert or wrapped gear low and against the back panel, close to your spine, where it carries best and is least exposed to impact if the bag is set down hard.
- Roll clothing and pack it around the gear on the outer and top sides. Soft clothing absorbs shocks and fills the gaps that would otherwise let equipment shift.
- Put anything you might need in flight — a sweater, medication, documents — at the top or in an outer pocket.
- Keep the tripod external only if the airline permits it. Some carriers count strapped-on items as part of the bag’s dimensions; check before you leave.
A typical clothing load for a one-week creative trip is 4–5 tops, 1–2 bottoms, one warm layer, one pair of walking shoes worn on the plane, and underwear and socks for half the days. That is roughly 4–6 L of packed clothing and 2–3 kg, which leaves the majority of a 40 L bag for gear.
Step 6: Do a Weight and Size Check Before You Leave Home
Weigh the fully packed carry-on on a luggage scale and measure its outer dimensions with a tape measure. Compare both to your airline’s limits. Run these checks:
- Bag lifts comfortably by the handle with one hand. If it needs two hands, it is likely over a 7 kg limit.
- Bag fits the airline sizer with room to spare. If it only fits when empty, it is too full.
- No external attachments that enlarge the profile. Nothing strapped to the outside that would fail a visual check.
- Item count is exactly one carry-on plus one personal item. Cameras, tripods, or accessory bags slung over a shoulder read as extra items at the gate.
If the bag fails on weight, move dense items to the personal item (Step 4). If it fails on size, repack so the bag sits flatter rather than bulging in the middle, and remove clothing layers to the personal item or wear them onto the plane.
Step 7: Plan for Gate-Check Scenarios
Even a well-packed bag can be gate-checked on a full flight. When that happens, the gear that must stay with you needs to come out before you hand the bag over:
- Spare batteries, power banks, and any lithium cells — required in the cabin, so they must not leave your person.
- The camera body if it is small enough to carry, so a valuable item is not separated from you.
- Memory cards, laptops, and any irreplaceable work — treat these as never-checked items.
- Medication, documents, and keys — the same rule that applies to every traveler.
The simplest protection is to keep every never-checked item in the personal item from the start. A small sling or shoulder bag of 5–8 L comfortably holds a mirrorless body with one lens, batteries, cards, and a laptop up to 13 inches, and it stays with you through a gate check.
Common Mistakes and How to Recover
- Packing the backup body “just in case.” If a second body was going to earn its space, the trip would require two outputs. On short trips it usually does not. Recover by packing a small repair kit (sensor swab, extra card, spare battery) instead, which weighs a fraction of a body.
- Choosing the camera bag before choosing the kit. This locks you into rigid dividers and wasted space. Recover by laying out the final kit first, then picking the bag that fits it.
- Leaving the tripod strapped to the outside. It enlarges the bag’s profile and may count as a second item. Recover by packing a compact tripod inside the insert, or by removing it if the trip allows handheld work.
- Forgetting that the laptop is part of the weight. A 14-inch laptop with charger is commonly 1.5–2.0 kg. If it lives in the carry-on on a 7 kg carrier, the gear allowance shrinks fast. Recover by moving the laptop to the personal item.
- Discovering the weight problem at the gate. Recover by moving dense items to your pockets or the personal item, wearing the bulkiest layer, and repacking to a flatter profile. If none of that works, know the gate fee in advance so you can decide between paying it and removing items.
What to Do Next
- Write down the trip’s single primary output and the four trip questions from Step 1. Keep the list short — one output, one body, one general lens, one specialized lens only if required.
- Look up your airline’s exact carry-on dimensions and weight limit on the airline’s own site. Many budget carriers enforce 7 kg at the gate, and the fee for a gate-checked bag commonly runs $50–$75.
- Pack to the final arrangement, then weigh and measure the bag and the personal item together. Adjust by moving dense items to the personal item until both are inside the limits.
- Test the bag against a sizer-sized box or a tape-measured outline at home. If it does not fit with room to spare, repack before you leave rather than at the boarding door.
A carry-on-only creative kit is not a compromise. It is a smaller, faster, and more reliable setup for the trip you are on. Build it from the assignment outward, and the bag will follow.
Related guides: Carry-On Packing Mistakes That Trigger Airline Gate Checks, Minimalist Packing Mistakes Carry-On Only Travelers Make, and A Step-by-Step Guide to Packing Your First Carry-On-Only Trip.