A carry-on suitcase and a car trunk are not the same container, and treating them as interchangeable is where most sales road trips go wrong. The trunk has more raw volume, so the instinct is to fill it — a demo kit here, a second blazer there, a backup pair of shoes for the dinner that may or may not happen. The carry-on has a hard ceiling and forces decisions up front. Sales travelers who pack the trunk loosely tend to arrive at the first client site with a car full of things they never touch and a missing item they needed. Packing to the carry-on, even when driving, removes that failure mode before it starts.
The method below is sequential. Work through it in order and the bag assembles itself around the two or three things that cannot be replaced on the road.
Step 1: Separate What Ships From What Sells
Before you touch a single garment, split your trip into two categories: items that support the sale and items that support you. They compete for the same space, and the sales items win every time.
- Sales items: demo units, sample kits, printed collateral, tablet or laptop for presentations, chargers for client-facing devices, business cards.
- Personal items: clothing, toiletries, medication, sleepwear, phone charger, entertainment.
Most overpacking on sales road trips comes from the personal category quietly expanding into the space the sales category needs. A four-day trip with three client meetings needs maybe three work outfits, not six. The demo kit needs exactly what the demo requires and nothing more. Write both lists down and count the items before you pack any of them. If the sales list exceeds roughly 40 percent of your available volume, the personal list has to shrink.
Step 2: Size the Demo Kit to the Actual Meetings
Sample kits and demo gear are the single largest variable in a sales carry-on. A trunk-based packer brings the whole product line; a carry-on packer brings what the calendar demands.
Map each meeting on your itinerary to the specific items it needs:
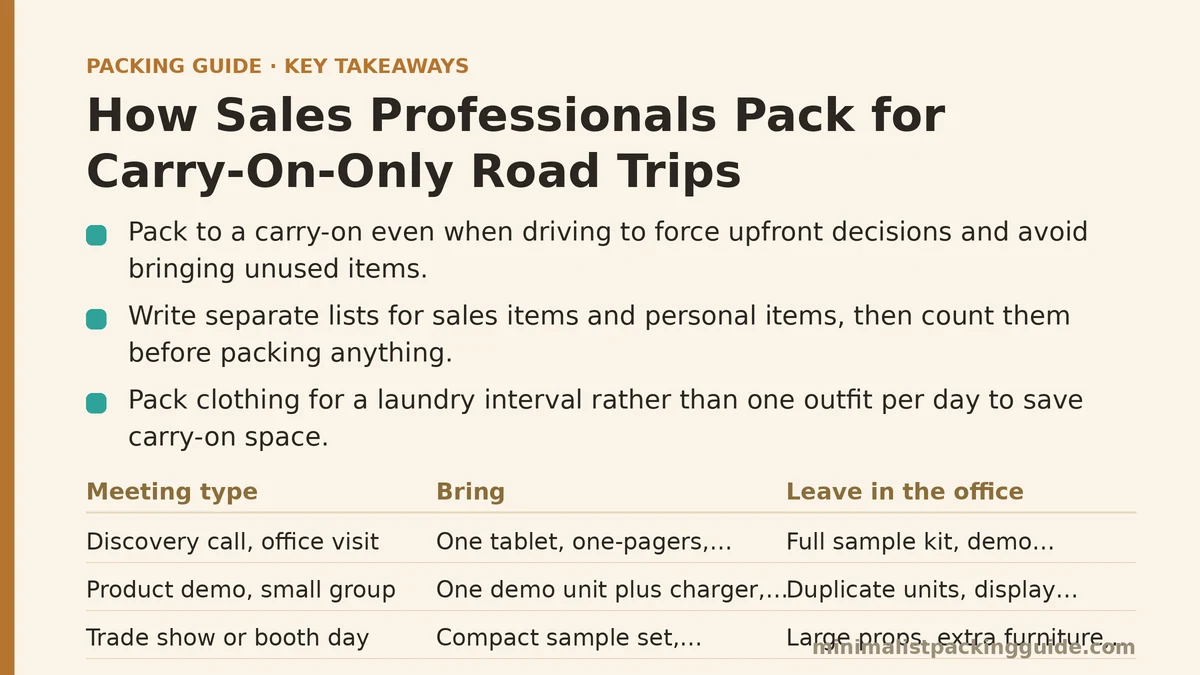
| Meeting type | Bring | Leave in the office |
|---|---|---|
| Discovery call, office visit | One tablet, one printed one-pager per attendee, business cards | Full sample kit, demo hardware |
| Product demo, small group | One demo unit plus its charger, backup cables | Duplicate units, display stands |
| Trade show or booth day | Compact sample set, signage if required by the venue | Large props, extra furniture, bulk collateral |
| Existing-account check-in | Laptop, account folder, one relevant sample | Anything the account already owns |
The pattern is consistent: the second demo unit and the printed collateral in bulk are what fill the bag. Confirm with each client contact what they expect to see, then bring only that. Collateral can usually be printed at a hotel business center or a nearby copy shop for a few dollars — far less than the space it occupies for four days.
Step 3: Build the Clothing Rotation Around Laundry, Not Days
A common mistake is packing one outfit per day. On a five-day road trip that is five shirts, five pairs of trousers, and five sets of socks and underwear, which alone will consume most of a carry-on.
Pack instead for a laundry interval. Most sales travelers on a trip of a week or less can work with:
- Trousers or skirts: 2 pairs (one worn, one folded in the bag)
- Dress shirts or blouses: 3 (one worn, two packed)
- Underlayers and socks: 4 to 5 sets
- Blazer or jacket: 1, worn in the car
- Shoes: 2 pairs maximum (one dress, one comfortable driving or walking pair)
- Sleepwear and casual layer: 1 each
That is roughly three days of clothing. A hotel laundry service or a laundromat stop on day three resets the count. Budget one evening of the trip for laundry and it costs less than an hour and typically under $15 at a self-service facility. The alternative — packing seven days of clothing — does not fit a carry-on alongside demo gear.
Step 4: Pack the Bag in Layers That Match the Day
Order matters in a sales bag because you will open it in a parking lot, a hotel room, and a client lobby, often on the same day.
- Bottom layer: shoes, stuffed with socks or belts to hold their shape, laid sole-out along the hinge side. Dense items go low and centered.
- Core: folded or bundle-wrapped trousers and blazer at the center of the bag, where compression is gentlest and wrinkling is least.
- Middle: shirts rolled or folded flat on top of the core.
- Top and lid pockets: toiletry pouch, chargers, cables, business cards, and a small repair kit (stain pen, lint roller, needle and thread).
- Quick-access zone: anything you need on the road before check-in — phone charger, snacks, a printed itinerary, medication — goes in the exterior pocket or a small personal item, never buried.
The repair kit earns its place on any trip involving client meetings. A stain on a shirt the morning of a pitch is a solvable problem with a two-ounce pen and a lint roller; without them it becomes an emergency purchase at a hotel gift shop.
Step 5: Pre-Wire the Car as a Controlled Extension of the Bag
Carrying the bag method into the car is where the road trip differs from a flight. The trunk can hold more, but every extra item in it should have a stated purpose and a fixed location.
- Go-bag zone: the carry-on itself, plus one small personal item, positioned so you can grab both in under 30 seconds at a hotel.
- Restock bin: a single shoebox-sized container holding spare business cards, a charger, a spare tie or scarf, and a small packet of printed one-pagers. This is the only overflow allowed.
- Nothing loose: no jackets on the back seat, no sample units rolling in the footwell, no shopping bags. Loose items are the trunk equivalent of external bag attachments — they read as clutter and they get lost.
A useful test before departure: if an item is not in the carry-on, the personal item, or the restock bin, it does not travel. That single rule prevents the slow creep of “just in case” items that turns a controlled road trip into a rolling storage unit.
Step 6: Run a Pre-Departure Check the Night Before
The checklist below takes about fifteen minutes and catches nearly every failure that shows up on the road.
- Every meeting on the calendar has its required demo or sample items confirmed with the client contact.
- The carry-on closes without force and lifts comfortably by one handle.
- All chargers and cables for demo units are bagged together and labeled.
- Clothing covers the laundry interval with at least one spare shirt beyond the meeting count.
- Repair kit, medication, and phone charger are in the quick-access zone.
- Restock bin is in the trunk and contains no duplicates of what is already in the bag.
- Loose items have been removed from the back seat and footwells.
- Hotel laundry availability or a nearby laundromat has been checked for day three.
If two or more items fail, the bag is overpacked and the fix is the same as at an airport gate: move dense items to the personal item, wear the bulkiest layer, and redistribute the bag into a flatter profile.
Common Mistakes and How to Recover
You overpacked the demo kit and ran out of room for clothing. Pull the second demo unit and any bulk collateral, and print replacements at the first hotel’s business center. Most large hotels charge a small per-page fee, well under what a wasted evening of repacking costs.
A client asks for materials you did not bring. Confirm what they need and have it shipped to the next hotel on the itinerary, or email a PDF and print locally. Sales conversations rarely require a physical copy on the spot.
Laundry day gets skipped because of a late meeting. A sink wash of underlayers and socks with a travel detergent sheet resets roughly a day of clothing and takes about ten minutes. Keep two detergent sheets in the toiletry pouch for this exact scenario.
The bag will not close on the last morning. Do not force it. Empty the quick-access zone into the personal item, roll the shirts that were folded flat, and remove anything that is not on the meeting list. Forcing the zipper is how bags fail at the worst moment.
What to Do Next
Start with the calendar, not the suitcase. List every meeting for the upcoming trip, note the specific demo and sample items each one requires, and count the laundry interval between the first and last day. That count gives you the clothing number, and the meeting list gives you the gear number. Everything that does not appear on either list stays home.
If the combined total does not fit the carry-on, cut from the personal side first. Demo gear and client-facing devices are the reason for the trip. Clothing, backup shoes, and “just in case” accessories are the elastic category, and the bag will tell you exactly how far that elasticity goes.
Related guides: Carry-On Packing Guide for Finance Professionals on Business Trips, Minimalist Packing Mistakes Carry-On Only Travelers Make, and A Step-by-Step Guide to Packing Your First Carry-On-Only Trip.