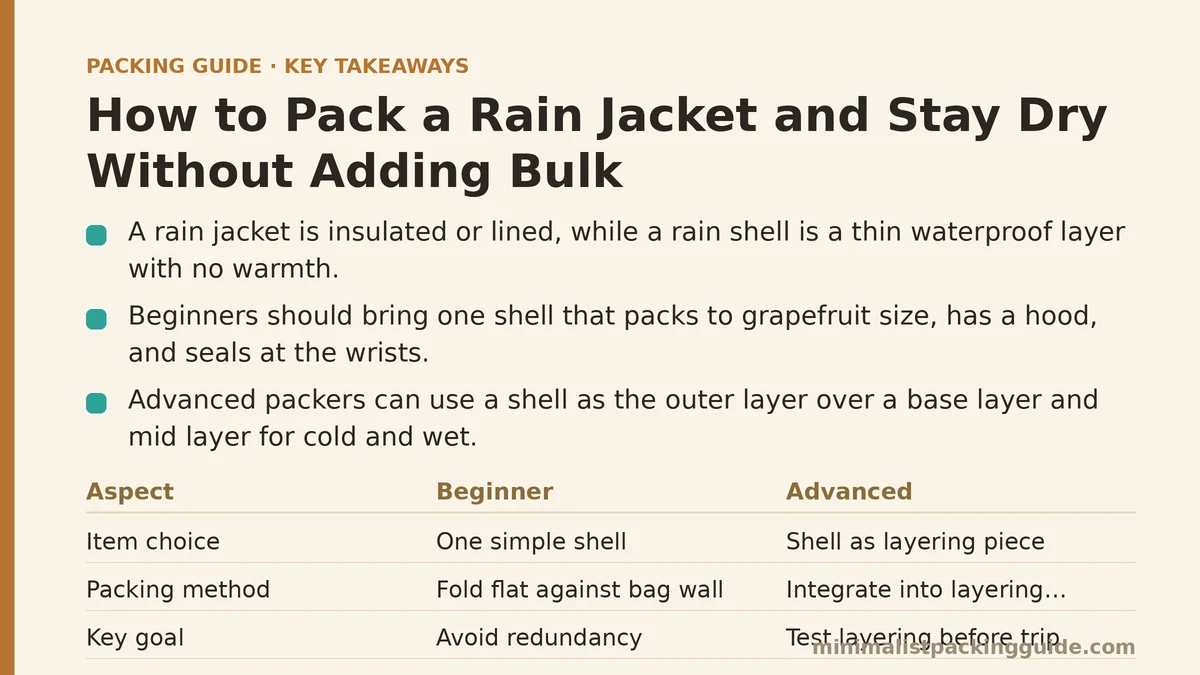
A rain jacket and a rain shell sound like the same purchase, but they’re not, and confusing the two is the single biggest reason rain gear eats more space than it should. A rain jacket is usually insulated or lined, built to be worn on its own in cold, wet conditions. A rain shell is a thin waterproof layer meant to go over other clothing, with no warmth built in at all. Pack the jacket when you mean the shell, and you’ve just added the bulk of a light coat to a bag that had no room for one.
That single distinction explains most of the frustration people run into when they try to pack for rain without inflating their carry-on. The fix isn’t a better jacket. It’s a better understanding of what the item is actually supposed to do, and a packing method that matches your experience level. Below is that method, broken into what a beginner should do and what an advanced packer can get away with.
Beginner: Pick One Shell, Not a Rain Wardrobe
New packers tend to bring more than one piece of rain protection — a shell, an umbrella, sometimes a poncho as a backup — because rain feels like an unpredictable variable that deserves redundancy. It doesn’t. One well-chosen shell handles the range of rain conditions you’re likely to hit on a trip, and doubling up just adds weight for a scenario that a single item already covers.
At the beginner level, the goal is simple: buy or bring a shell that packs down to roughly the size of a grapefruit, has a hood, and seals at the wrists. That’s the whole spec sheet. Anything beyond that — pit zips, multiple pockets, a liner — is a feature you’re paying space for without a clear return on it.
Beginner move: stuff the shell into its own hood or a small stuff sack, and drop it into whatever gap is left after everything else is packed. It should never be the first thing you plan around.
Advanced: Let the Shell Double as Your Layering Piece
Advanced packers stop thinking of the rain shell as a single-purpose item and start treating it as the outer layer of a broader system. Worn over a base layer and a light fleece or sweater, a good shell handles cold and wet at the same time, which means you’re not packing a separate cold-weather jacket and a separate rain jacket for the same trip.
This is where the beginner/advanced gap really shows up in bag volume. A beginner packs a shell and a jacket as two items with two jobs. An advanced packer packs a shell as the last layer in a system that already includes a mid-layer doing double duty as regular daytime clothing. The shell adds waterproofing to a stack that was already going in the bag — it doesn’t add a new category.
Advanced move: test your layering combination before the trip, not during it. Put on your base layer, mid layer, and shell together and check that the hood still fits over the collar and the cuffs still seal. A shell that works fine alone can bind or gap once it’s layered over bulk, and that’s not something you want to discover in actual rain.
Beginner: Fold It Flat Against a Wall of the Bag
At the beginner stage, the simplest packing method is also the correct one. Fold the shell into a rough rectangle — hood tucked in, sleeves folded across the body of the jacket — and lay it flat against one interior wall of your bag, underneath or beside your rolled clothing. This keeps the shell accessible without requiring you to unpack the whole bag if rain hits mid-trip.
Don’t stuff it into the very bottom of the bag under everything else. Rain rarely waits for a convenient packing moment, and a shell buried under a week of clothing is a shell you won’t bother digging out.
Advanced: Use the Shell’s Own Pocket as a Compression Sack
Most rain shells built for travel include a chest pocket designed to turn inside-out and swallow the rest of the jacket, effectively becoming its own stuff sack. Advanced packers use this feature rather than a separate compression bag, which cuts out one more item from the packing list entirely.
Once compressed this way, the shell becomes small enough to serve a second function: a soft buffer wedged between rigid items like a toiletry bottle and a laptop, or tucked along the side of the bag as light padding. This is the same principle that governs formal wear placement or shoe packing — nothing in a well-packed bag does only one job, and a compressed shell filling a gap while staying available is a small but real space gain over a shell that just sits flat and idle.
Advanced move: compress the shell last, right before closing the bag, so it fills whatever irregular gap remains rather than claiming a fixed spot early and forcing everything else to work around it.
Beginner: Trust the Hood More Than an Umbrella
Beginners often pack both a hood-equipped shell and a compact umbrella, treating them as complementary rather than redundant. In practice, a properly adjustable hood — one with a drawstring or toggle at the face and enough structure to stay put in wind — handles the same rain an umbrella does, minus the risk of losing it, breaking a spoke in wind, or needing a free hand to hold it.
Beginner move: if your shell’s hood has an adjustable opening and stays on your head without you holding it, leave the umbrella at home. That’s one more item and one more point of failure removed from the bag.
Advanced: Know When Waterproof Beats Water-Resistant, and Skip the Rest
Advanced packers stop buying “rain gear” as a category and start reading specs. Waterproof shells are taped at the seams and rated for sustained exposure; water-resistant jackets shed light moisture but soak through in real rain. If your trip has a genuine chance of sustained rainfall, a water-resistant jacket isn’t a lighter version of the right item — it’s the wrong item, regardless of how little it weighs.
The corollary: once you own a proper waterproof shell, you don’t also need a water-resistant windbreaker “just in case” of light drizzle. The shell covers drizzle fine on its own. Owning both is the advanced-level version of the same redundancy a beginner falls into with a shell and an umbrella — different items, same underlying mistake.
Rain Packing at a Glance: Beginner vs. Advanced
| Situation | Beginner Approach | Advanced Approach |
|---|---|---|
| Choosing rain gear | One packable shell with a hood | Shell doubles as the outer layer of a full system |
| Packing placement | Folded flat against one wall of the bag | Compressed into its own pocket, used as padding |
| Backup protection | Umbrella alongside the shell | Adjustable hood replaces the umbrella entirely |
| Gear selection | Any jacket labeled “rain” | Waterproof for real rain, no water-resistant duplicate |
| Mid-layer strategy | Separate jacket for cold, separate shell for rain | One mid-layer doing double duty under the shell |
Related guides: How to Pack for Humid Tropical Climates Without Mildew, How to Pack for a Surfing Trip Without Checking a Board Bag, and How to Pack Camera Gear for Travel Photography.