The common assumption is that camera gear needs its own dedicated bag to survive travel — a purpose-built backpack with molded dividers, rain covers, and a logo that announces “expensive equipment inside” to anyone standing near your luggage carousel. That assumption is backwards. The bag matters far less than how the gear inside it is organized, and some of the best-protected camera kits seen on the road weren’t in camera bags at all. They were in ordinary travel bags, packed with a method that did the actual protective work.
Below are the five most common approaches to packing camera gear for travel, ranked from most to least effective for someone trying to travel light without risking a cracked lens element or a scratched sensor. The ranking isn’t about brand or price. It’s about how well each method balances protection, weight, and the practical reality of getting through security and into an overhead bin.
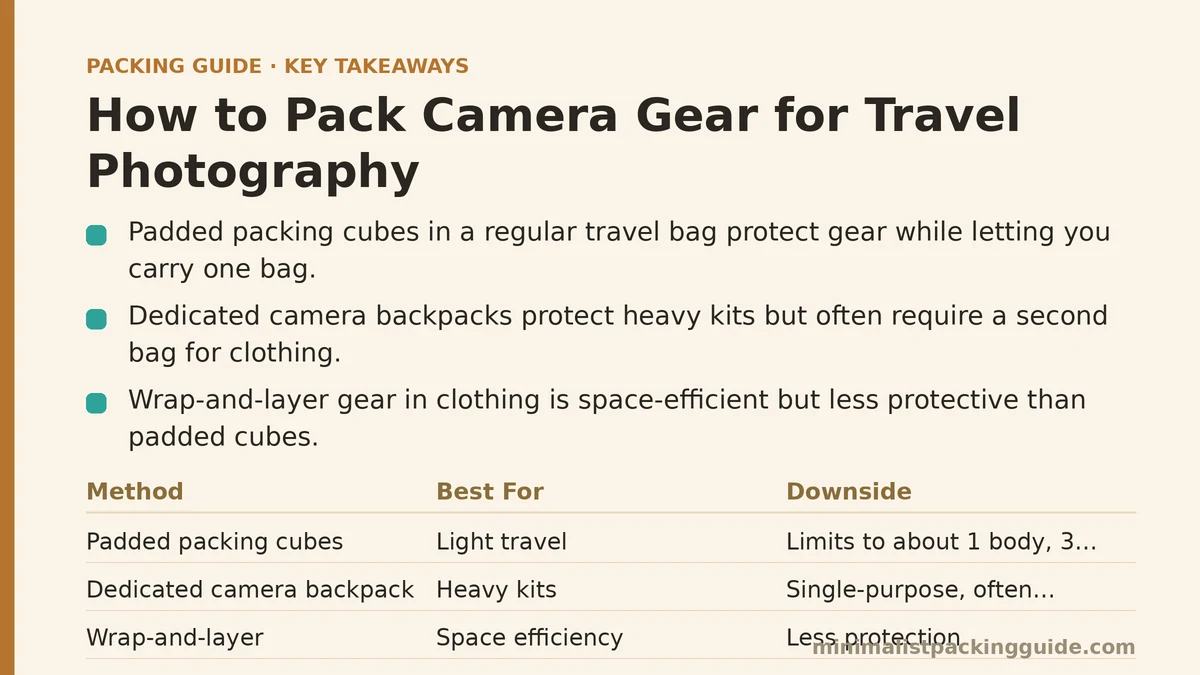
1. Packing Cubes With Built-In Padding, Inside a Regular Travel Bag
This is the method that consistently wins, and it wins because it separates two problems that a dedicated camera bag tries to solve at once: carrying your clothes and protecting your gear. A padded packing cube — the kind with a semi-rigid shell and a soft interior lining — holds a camera body and two or three lenses in individual compartments, and that cube then slots into whatever carry-on you’re already using for the rest of the trip.
The advantage is flexibility. On travel days you carry one bag instead of two. On shooting days you pull the cube out and carry only the cube, which is smaller and lighter than a full camera backpack. The padding does the same job a dedicated bag’s dividers do, just without forcing you to commit an entire piece of luggage to gear alone.
The only real downside is capacity — this approach caps out somewhere around one body and three lenses before the cube gets too large to share space with clothing. For most travel photography, that’s plenty.
2. A Dedicated Camera Backpack With Modular Inserts
This is the default choice for a reason, and it’s not a bad one. A camera-specific backpack with a customizable insert protects gear well and keeps everything accessible without digging through unrelated items. For photographers carrying heavier kits — two bodies, four or more lenses, a flash system — this is often the only method with enough structured capacity.
It ranks below packing cubes for one reason: it’s a single-purpose bag. You cannot fold a jacket into a camera backpack’s dedicated compartments without cannibalizing the space meant for a lens, which means most people traveling with a dedicated camera backpack are also checking or carrying a second bag for clothing. That’s two bags to manage through airports, two zippers to worry about, and dead weight in the camera bag on days you’re not shooting and would rather carry almost nothing.
For gear-heavy trips — a wildlife shoot, a multi-lens architecture assignment — this is still the right call. For general travel photography, it’s more bag than the job requires.
3. The Wrap-and-Layer Method
This method treats clothing as padding rather than as a separate category from gear, and it works better than most people expect. Camera bodies and lenses get wrapped individually in soft items already in the bag — a fleece, a pair of rolled socks, a scarf — and nestled into the center of the suitcase, surrounded on all sides by more clothing.
It’s the most space-efficient option on this list, since it uses items you’re packing anyway instead of adding a dedicated padded container. The tradeoff is access: gear wrapped inside a fully packed bag isn’t something you can grab quickly at a scenic overlook or a sudden street scene. This method suits checked luggage or travel days where the camera isn’t coming out mid-transit, not active shooting days.
It also demands more discipline than the other methods. A lens wrapped loosely in a t-shirt shifts during transit in a way that a rigid packing cube compartment doesn’t, so this only ranks where it does if the wrapping is done tightly and the gear sits at the true center of the bag, away from the edges where compression happens.
4. A Sling Bag for One Body and One Lens, With Everything Else Checked or Stowed
For photographers willing to travel with a genuinely minimal kit — one body, one versatile lens — a small sling bag worn across the body is hard to beat for accessibility. It rides at your side all day, keeps the camera ready in seconds, and adds almost no packing complexity to the rest of the trip.
It ranks fourth not because it fails at its job, but because its job is narrow. A sling bag doesn’t scale past one body and one or two lenses without becoming heavy and awkward to wear for a full day of walking. It’s an excellent solution for a specific kind of minimalist photographer and a poor one for anyone carrying a zoom lens, a prime, and a flash on the same trip.
5. A Hard-Shell Rolling Camera Case
This ranks last for travel photography specifically, though it’s a fine choice for studio or event work where the equipment stays mostly stationary. A rolling hard case protects gear extremely well against impact, but it’s heavy on its own before a single lens goes inside, it doesn’t fit into an overhead bin on most regional aircraft, and it turns cobblestone streets, train platforms, and hotel stairs into an ongoing negotiation.
The protection argument for a hard case is real. The problem is that travel photography rarely happens in conditions where that level of impact protection is the limiting factor — the limiting factor is almost always your own willingness to carry the bag another six blocks to catch better light. A case built for cargo holds and shipping doesn’t match that use case.
How the Five Methods Compare
| Method | Best For | Main Limitation |
|---|---|---|
| Padded packing cubes | General travel photography, 1 body + 2-3 lenses | Limited capacity for larger kits |
| Dedicated camera backpack | Gear-heavy trips, multiple bodies/lenses | Requires a second bag for clothing |
| Wrap-and-layer | Checked bags, travel days without shooting | Slower access, needs careful wrapping |
| Sling bag | Minimalist one-body, one-lens setups | Doesn’t scale past a small kit |
| Hard-shell rolling case | Stationary or event work | Heavy, impractical for walking travel |
Related guides: How to Pack for High-Altitude Trekking and Mountain Travel, Capsule Wardrobe for Travel: How to Build One, and How Many Clothes Do You Actually Need for Travel.