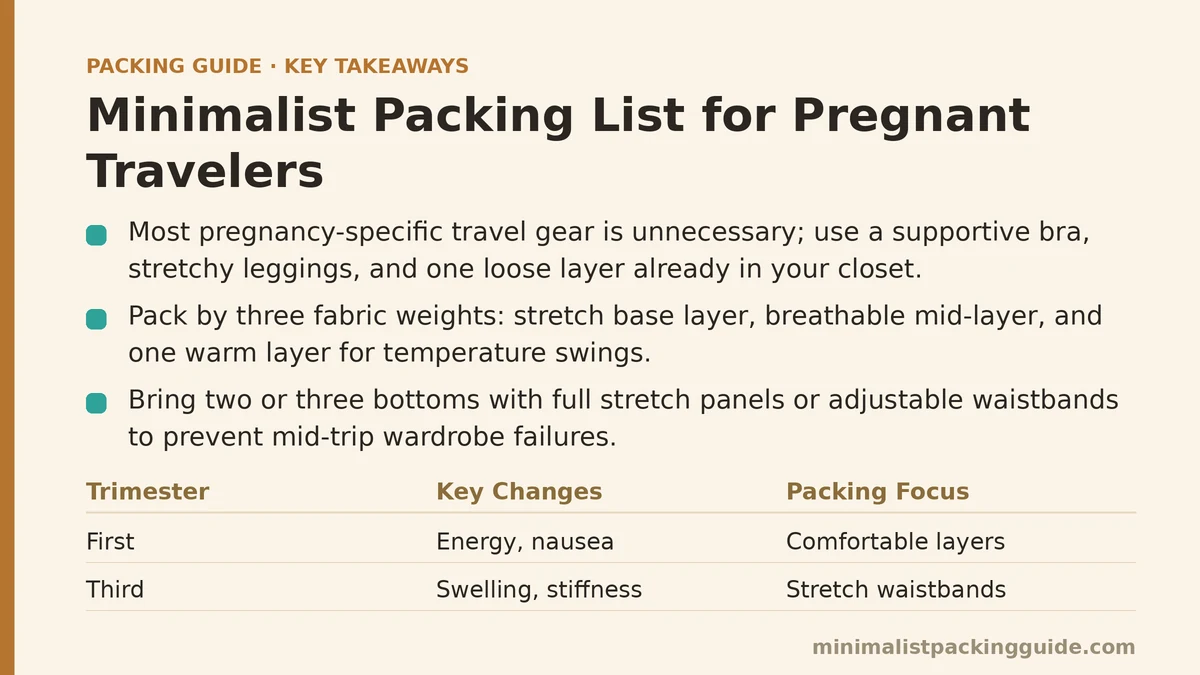
Maternity travel pillows, maternity-specific packing cubes, and maternity-labeled compression socks take up a surprising share of shelf space in the “pregnancy travel essentials” category — and most pregnant travelers never need any of them. The items that matter for a pregnant body in transit are a supportive bra, a pair of leggings with real stretch, and one loose layer, and all three already exist in most people’s closets before pregnancy ever enters the picture. Pregnancy doesn’t invent a new packing category. It narrows the one you already have.
That narrowing is the whole method. Below is a step-by-step way to build a carry-on-appropriate pregnancy packing list without buying a single item marketed with the word “maternity” on the label, unless your body specifically calls for it.
Step 1: Separate What the Trimester Changes From What It Doesn’t
Start by drawing an honest line between two categories: things that shift because of pregnancy, and things that only feel like they should. Waistbands, bra size, foot swelling, and bathroom frequency change. Your need for five pairs of shoes, a backup outfit for every occasion, or a separate bag “just in case” does not — those instincts were inflated before pregnancy and stay inflated during it.
Write down the actual physical changes relevant to your specific trimester and trip length. First-trimester travelers are often packing for a body that hasn’t changed shape yet but has changed energy levels and nausea tolerance. Third-trimester travelers are packing for swelling, reduced flexibility, and a much shorter list of comfortable positions to sit in for six hours. Knowing which category you’re in prevents you from packing for symptoms you don’t have.
Step 2: Build the Core Wardrobe Around Three Fabric Weights, Not Activity Types
Skip the instinct to plan by activity — one outfit for the flight, one for sightseeing, one for dinner. Instead, choose three fabric weights: a stretch base layer, a mid-weight breathable layer, and one warmer piece for temperature swings on the plane or in over-air-conditioned buildings. Everything you pack should fit into one of those three categories.
This matters more during pregnancy than it does otherwise because body temperature regulation shifts — many pregnant travelers run warmer than usual and swing between hot and cold more abruptly. A stretch base layer (leggings, a soft t-shirt), one breathable mid-layer (a loose dress or button-down), and a single warm layer (a cardigan or lightweight zip-up) cover nearly every combination a short trip requires, without needing a dedicated outfit per day.
Step 3: Solve the Waistband Problem Before You Solve Anything Else
Nothing derails a pregnancy packing list faster than realizing, mid-trip, that half your bottoms no longer fit comfortably. Solve this first, not last. Pack two or three bottoms with a full stretch panel or an adjustable waistband — leggings, stretch-waist pants, a wrap skirt — rather than anything with a fixed waistband you’re hoping still works by the time you land.
If you’re early enough in pregnancy that your regular clothes still fit, bring one stretch-panel item anyway as insurance against swelling or bloating on travel days, which happens even before a bump is visible. This single fix prevents the most common mid-trip wardrobe failure pregnant travelers report.
Step 4: Pack the Medical and Comfort Layer Before the Rest of the Bag
Before you pack a single outfit, set aside a small pouch for the items tied to physical comfort and medical need: prenatal vitamins in their original labeled bottle, any prescribed medications, a doctor’s note if you’re traveling in the third trimester (many airlines require one after 28 weeks), and your prenatal records or a summary card with your due date, blood type, and OB contact information.
Add a compact snack supply if nausea or blood sugar swings are a factor for you, a reusable water bottle you can refill after security, and any specific comfort item your care provider has recommended — compression socks, for instance, if you’ve been told you’re at elevated risk for swelling or clotting, not because every pregnant traveler needs them by default. This pouch goes in first because it’s the one category where forgetting something isn’t just inconvenient.
Step 5: Choose One Pair of Shoes, Not a Rotation
Foot swelling is one of the few pregnancy symptoms that reliably worsens over the course of a travel day, which makes shoe selection higher-stakes than usual. The fix isn’t more shoes — it’s one pair that can flex with a foot that might be a half-size larger by the time you land than it was that morning.
A slip-on shoe with a wide toe box and some give in the upper handles walking, standing in security lines, and swelling better than a structured shoe that fit perfectly at home. Skip the backup dress shoes and the second casual pair. One well-chosen pair, worn on travel days rather than packed, removes an entire shoe category from your bag.
Step 6: Trim the Toiletries Bag to What Pregnancy Actually Restricts
Pregnancy narrows your toiletries list before it expands it. Certain skincare ingredients (retinoids, high-dose salicylic acid) are typically avoided during pregnancy, which means you can leave those products at home rather than pack them — a rare case where the pregnancy shrinks the bag instead of growing it.
What’s left: a pregnancy-safe SPF, a basic moisturizer suited to skin that may be more sensitive than usual, and whatever your provider has approved for nausea (ginger chews, specific antacids). Keep the bag under the standard liquid limit as you normally would — pregnancy doesn’t change TSA rules, only what you choose to fill the space with.
Step 7: Pack the Bag You Can Lift Without Help
This step gets skipped constantly, and it shouldn’t. A pregnant body — especially in the second and third trimester — has real limits on lifting, twisting, and carrying weight overhead into an airplane bin. A packing list can be perfectly minimal on paper and still fail if the resulting bag is too heavy or awkward to manage alone.
Weigh your packed bag before the trip. If you can’t comfortably lift it to shoulder height, the fix isn’t asking someone else to carry it the entire trip — it’s removing weight until you can. A slightly smaller, lighter bag that you control yourself beats a fuller one that requires help at every gate and overhead bin.
Step 8: Do a Final Fit Check Against Your Specific Trip
Once the bag is packed, run it against three questions specific to pregnancy travel: Does every bottom in the bag have stretch or adjustability? Is the medical and comfort pouch accessible without digging to the bottom of the bag? Would this bag still make sense if swelling, nausea, or fatigue is worse on this trip than it’s been so far?
If any answer is no, that’s the item to fix before departure, not the item to add more to your bag around. The goal isn’t a bag that anticipates every possible symptom — it’s a bag that flexes with the ones most likely to show up.
A pregnancy packing list built this way rarely looks dramatically different from a well-built non-pregnancy one. The difference is concentrated in a handful of places: waistbands, one pair of forgiving shoes, a medical pouch packed first, and a final weight check most travelers skip entirely. Everything else — the instinct toward backups, extra outfits, and maternity-branded gear — is the same overpacking pattern that shows up on any trip, just wearing a different excuse.
What trimester are you packing for, and how long is the trip? Tell me both and I can help you work out exactly which three fabric weights and how many bottoms your specific bag needs.
Related guides: Minimalist Packing Mistakes Carry-On Only Travelers Make, Step-by-Step Carry-On Packing Tutorial for First-Time Minimalist Travelers, and Minimalist Packing with Kids: A Guide to One-Bag Family Travel.